Monday, March 11, 2013

Beginner's Guide to Nuke

Hello all, this blog post will be documenting some of the things I have learned about Nuke.  Our class is starting out with Digital Tutor's "Beginner's Guide to Nuke".

The first two lesson were merely introductions telling some information about the program:

Nuke is a "node-based" compositor.

Compositing: "Bringing in multiple elements and making them look like they exist in the same space."

Compositing is usually one of the last steps you take with your production/animation.

Here is a screenshot of Nuke's interface.


A node is a piece of code or object that does a specific operation to something.  Also the position of of the node does not matter, it is what it is connected/plugged in to that matters.

Here are three different ways (not the only ways) shown how one could organize their group of nodes.

A clear way to organize your group of nodes


Another clear way to organize your group of nodes


A confusing arrangement of nodes


The instructor also mentioned that if you want to create a shortcut for quickly scrolling through various nodes you are working on is to click on the viewer and then click on the node you want to access and press a number on your key board.  Here is a picture showing that I have connected my viewer to 2 different nodes and that I can press 1 and 2 to access them quickly.


The next lesson simply went over the properties bin (located on the far upper left).  You can access the properties of the node you are working with by double left clicking it.  There are many different settings that you can play around with like blur and color correction effects.


The next tutorial went over how to read (import) an image into Nuke and some of the project settings that you can mess around with.

Press "R" to read an image into Nuke


Press "P" to get to your properties panel for a node or project


In the following tutorial he briefly went over merging two nodes and turning an alpha layer on and off.

Blurry Picture of Where the Merge Node is


Press "Shift + X" to Switch Order of Merge Nodes


I didn't really understand his brief explanation on Alpha channels; hopefully when he uses it later in the tutorial I will understand it more.  (He did mention in the next two lessons that an Alpha helps us define the transparency on some of the parts of our object).

After that we went over the transform node, how you could mess around with some of its properties in the properties panel, and more about what to connect it to.

Location of the Transform Node


Another Look at the Transform Node


The next tutorial went over Rotoscoping some.  The instructor's definition of rotoscoping was: "Rotoscoping is essentially drawing out a new Alpha."  He also repeated that an Alpha channel helps us determine the transparency of certain areas of our image.  Rotoscoping is like making your own alpha channels, where you can specifically choose what you want to be masked out of the image.


The Hot Key for Turning Your Overlay (mask) On and Off is "O"


The following lesson went over color correction.  We went over a couple of the color correction setting (because there were a lot of them).

Color Correction Nodes Located Under Peace Looking Symbol


Saturation referred to the intensity or vibrance of the colors.  Contrast either intensifies or lowers the relationship between the darks and the lights in your scene.  Gamma and Gain were a bit similar in that they controlled the overall brightness or darkness of our scene.  The only difference between them is that Gain is like Gamma on steroids the change is much more prominent.  Offset seemed to control the overall intensity of your blacks and whites.  The cool thing about color correction is that you can assign it to different nodes if you want to color correct them individually.  The instructor said that the key to color correcting is to make all the layers look like the are blended together (they look like they were shot in the same location (lighting)).

Color Correction Settings in Properties Panel 


The last lesson in "Beginner's Guide to Nuke" went over how to write/render out your files when you think you have finished your final product.  First go to the very first tool at the top right of you Nuke Node Settings and select "Write".


After you connect the write node to the node connecting all your other nodes (in this case the color correct node) then go into your node's project settings and name your file.  (If the setting for the write node are not appearing you may have to double click on the node).  Find where you want to save the file/name it/click save.  You will need to then select the file type you want (in my case it was a jpeg) before you can click render.


Composited (Rendered) Jpeg Using Nuke


To write out a sequence file for rendering the process is almost exactly the same.


When you get to where you name your file you have to either add ".%03d" or ".###" to the end of your file name.  The instructor tried to explain why you had to do this, but I didn't quite understand why.  He said something about it affecting padding.


Then select your written sequence node and go up to the top of Nuke's Menu Bar and click "Render Selected...".  If you don't do this it will render out all the write files with their connections (that might take longer than you want it to).


If you have all your rendered jpegs (or other file type you choose to name it) in a folder you can then click and drag the folder into Nuke's Node Graph.  This will automatically create a sequence of your rendered animation which you can then play in Nuke if you desire to do so.


Nuke's interface as well as its Node Graph is a simple setup that works well.  There have been other editing software that I have used before that seemed more daunting because of the hundreds of buttons showing up everywhere on the default start up.  I can see how Nuke would be a handy tool to use when rendering pictures and compositing videos or animations.

Sunday, March 3, 2013

Beginner's Guide to After Effects

Hello all, I decided that since I wasn't understanding the material in the last tutorial, that I would start a beginner's course in After Effects.  I am following along in Digital Tutor's: "Beginner's Guide to After Effects".

First off, we went over terms like Motion Graphics and Compositing, what After Effects is, and what it can do.

Motion Graphics: "Bringing together multiple elements and animating them along a timeline." or "Bringing together multiple elements and sequencing them into a cohesive series of events."

Compositing: "Bring multiple elements together in a single shot." or "Bringing together several elements and making them look like they were shot in the same location."

Compositing creates the single (individual) pieces of your production, while Motion Graphics puts them together into a single piece (movie, animation, etc.).

Determining the definition of a project was in the next lesson.  One thing, he said, that seemed really important was that the images and elements that are imported into After Effects are only links.  Therefore, moving, renaming, or deleting files outside of After Effects (even if they are saved in an After Effects file) will break their connections and will cause lots of trouble (example: having to reload all of those changed files back into After Effects).  If you need to reload a certain file, right click on the image in your project's main folder and click "Replace Footage/File/select a file/press ok".


In the following tutorial we went over how to create a new composition and some of the settings you could change.  Here are some pictures explaining a few things.

Creating a New Composition


Adding More Elements into New Composition


Changing Composition Settings


There are various kinds of layers that store information inside of a composition.  Examples of this would include image and text layers.  Dragging a project file into the timeline will also create it's own layer.


After Effects, just like many other Adobe products, reads layer information from top to bottom.  This could potentially effect the visibility of some of the elements in your layers.  So if you are having trouble seeing an image or text then a simple fix might just be rearranging the layer order.

"An Alpha defines the transparency [allowing light to be transmitted through a material] or opaqueness [not reflecting light] of a pixel or individual part of an image."

Images showing white mean that they are opaque or have no transparency, while anything showing black means that it is 100% transparent.

To See an Alpha Channel


Example of Layer with Alpha Turned On


Reloading a File's Alpha Info


Solution to Reloading an Alpha


The next tutorial went briefly over where you can find effects to manipulate your images/movies in various ways.  We experimented a bit using some of the blur effects and color correction, but there are many many other effects.  Here is a screenshot showing you an example of what I mean.


After that we moved on to talking about masks and some of their uses.  You can use masks for various different purposes, but here are some images showing a few basic uses.  Make sure that you have your layer selected before trying to mask an object in your scene out.


Using the Pen Tool to Mask Out Objects


Difference in Add and Subtract Option


Using the Feather Tool


 Using the Shapes Tool to Mask Out Objects


Result of Masking Out Objects


In the next tutorial we went over how to change the position, rotate, scale, and opacity parameters.  Here are some screenshots discussing some of the main points.

Adjusting Pixel Resolution


Positioning, Rotating, Scaling, and Changing the Opacity of Your Objects


In the next lesson we briefly went over how to work with keyframes to create animations.  Something important to remember.  To get your animations working properly you have to set an initial keyframe (at the beginning of your animation), move to a new section in your timeline and then make a change (changing position, rotation, scale, etc.) to set another keyframe.  After Effects calculates between the frames, where you made the changes, to produce your animation.  Here are some screenshots illustrating some things.

Setting Keyframes for an Animation


Setting Multiple Keyframes Requirement


To play our animation back in real time press the zero key on our keypad.  This starts a "RAM Preview" which should accurately show how your animation's speed will look like when you render it.  Or you can go into the Composition menu above, go into preview, and click on RAM Preview.

RAM Preview


Lastly, we went over how to set up the Render Queue so that we can turn our animation into a movie file.  There are many different ways that you can tweak the settings so that they will fulfill any requirements that are demanded of you.  Here are a couple screenshots showing examples of this.

Bringing Up the Render Queue


Another Way to Bring Up the Render Queue


Render Queue Settings


(After you have finished rendering the tiff files you can always import the tiff sequence back into After Effects and then render them all as a movie file like QuickTime or an AVI.)

A Closer Look at the Output Module Settings


A Closer Look at the Output To Settings


Well that finishes that tutorial.  After going through After Effects with an experienced instructor it has made the program not look as scary as it used to.  It is hard to look at a program with a million buttons and have no clue what any of them do, but if you continue to learn a little bit at a time it's not half as bad.  I hope that this blog has served as a help to any, like myself, who felt pretty lost initially with the program known as After Effects.  See you all later!

Sunday, February 24, 2013

Creating Hologram Effects for Video in Maya and After Effects

Our next tutorial is going over creating special effects starting in Maya and After Effects.  Here is what I did.  To be quite honest, a lot of this was a bit over my head and advanced for me so it took a while to do.

First we created some geometry.


Then we added some materials.


We added some more materials.


Then we started working on renderable layers.


The we started working on image based lighting.


The next step required creating new UV's.


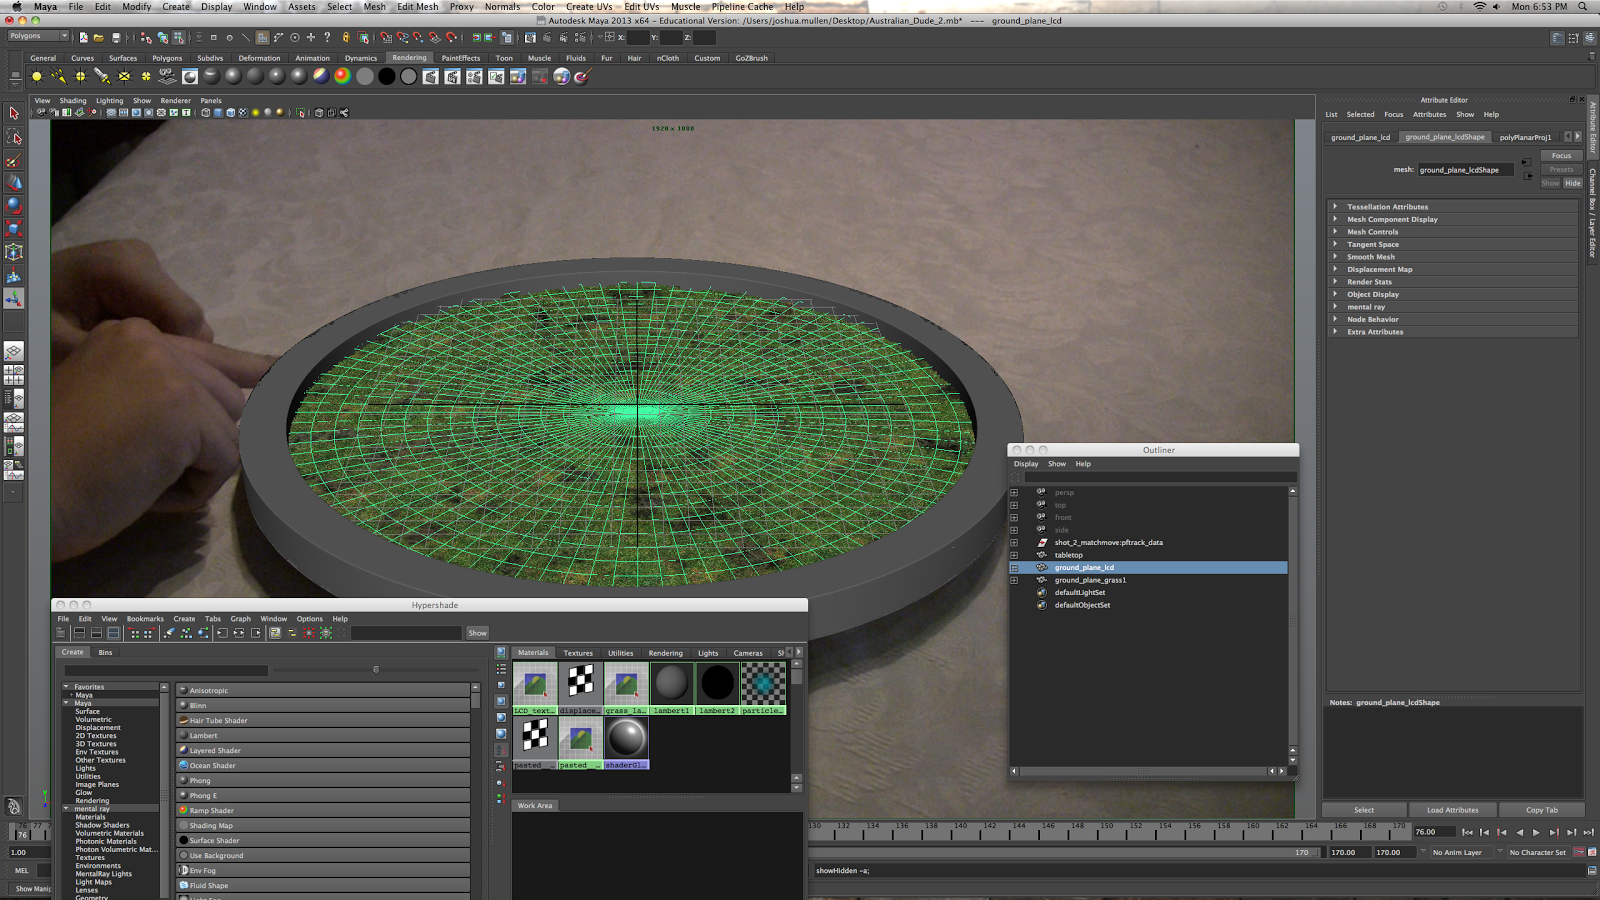
Then we imported a simple rigged hand into the scene and matched it up with the video footage.


I animated the hand to follow the footage.


Then I created additional holdout mattes (watch out in this video, he duplicates the "tree matte transparent" layer, but then he accidentally selects the "tree matte trunk" layer instead and starts changing it's attributes.  Then in the next video he has his tree matte trunk layer back and doesn't have the "tree matte transparent 1" duplicate anymore.  It is hard to catch though because he says in the audio that he is changing the "tree matte transparent 1" layer.  It is pretty annoying that he never tells you about his mistake.).


In the next video he duplicates the "tree matte transparent" layer again even though in the last video he had already created it.  He also changes the names of his layers without showing you which was which and creates a layer before you start the lesson (shadow_bowl).  Anyways, I tried to follow along the best I could and created the final gather layers.


The next lesson started messing up a lot of things.  I had about 15-18 layers and he only had 10 layers with mostly different names.  I started copying the render settings that he had and then by the time that I got to the scanline layer there was a weird transparency on parts of my tree.


After that I tried to continue and copy the instructors other render settings and then I lost the trees and bushes in all my layers!  I have no idea what happened, but I am going to go back to one of my previous files.


I think I finally got everything matched up properly.  It took a lot of hiding, showing, adding to layer, and removing from layer options clicking in order to get everything setup properly.  Here's hoping for the best!


I keep working on the tutorial, but things keep getting worse and worse.  A week-2weeks ago I was having trouble with the batch rendering of the layers (Lesson 13).  I found that in the the few lessons leading up to lesson 13 the instructor changed the names of many of his layers and made other changes without telling us or telling us which steps to take to name them (and possibly change some attributes).

I have been having trouble batch rendering the lcd and grass layers as well.  It shows their texture in the Maya screen but when I render the layers they are gone and just a black disc renders.  I have retried to reload the image file multiple times with no success.  (I found out later that this would be fixed if I went back to the layers and turned on "final gathering" and "raytracing" ; I found this out from my teacher, not the tutorial instructor).  

I was finally able about a week ago to batch render all of my render layers.  I then continued on in the tutorial and he showed his rendered layers.  Almost all of them look different than mine.  I know that I spent lots of time copying his exact instructions and so I don't know why they look so different.

When we batch rendered the files, he also didn't tell us to take the camera image off.  I later found out, to my horror, that all my layers have been rendered with the Hologram (76.tiff) in the background.

I tried to get rid of the Hologram tiff and then it deleted my camera view so that I couldn't render the correct perspective for my layers.  I undo-ed the deletion and tried to hide the background, but it wouldn't disappear (even though in the outliner it showed a the hidden grayed out box).  It took awhile, but I finally found out how to get rid of the image.

I then tried to check on my layers to make sure that the textures were correct, before batch rendering again, and now a fourth to half of my layers render a pure black screen.

I will wait for my teacher's reply before continuing (I sent him an email).  (He gave us all an extra week to finish the tutorial, hopefully we will be able to do it now).

Alright, I have finally been able to move on!  A big thanks to my friend Quinn for letting me borrow his correctly rendered layers so that I could continue!  When we had all the rendered layers we moved on to After Effects.

First we composited the turntable.


Next we composited the grass layers.


The tree layers came after that.


The compositing of the transparent hand mattes was a bit annoying.  He said that he included in the downloadable files a "roto-ed" (masked out?) version of the hand so that it would  fix a problem that he briefly mentioned.  Suffice it to say, there was no downloadable roto-ed hand.  He later continues in the same lesson to make another composition layer named "tree fx matte" which is almost the exact name as the "trees fx matte" which made it a bit confusing.  It was so confusing in fact that the instructor even confused himself and didn't use the layer he spent time creating.  He spent the next 2 minutes pondering why things didn't seem right and then messed up the previous layer that he created and changed its attributes again.  I did not make the changes he did for this very reason.  Here is what mine looks like at the moment.


We moved on to cleaning the holdout matte.  There were some strange gaps in the hand that looked awkward and so he went into photoshop and fixed them (it seems, he didn't show how he fixed them) he tried to show an alternate method in After Effects, but I am not sure how to do it, so I am skipping that part.  It would have been nice if he had provided those edited files for us to use.


The next tutorial went over compositing the final gather lighting into our footage.  I will just say that he change many many settings at a fast rate and I'm not quite sure what he did.  He did make everything glow a lot though haha.


The next lesson was hard to get through.  He just cannot seem to make up his mind on what he wants his lights/glows to look like.  He adds a tint adjusts it and then later deletes it.  It cracks me up that he says, "You may want to watch me in fast forward", I thought he was in fast forward the whole time?  A couple more layers just appear (duplicated when he wasn't documenting his process), placing them in various orders in his timeline, without telling you.

I tried to follow along the very best I could.  Here is what mine looks like right now.


In the following tutorial he integrated the lcd with the grass layer.  He also deleted the small glow layer and used another glow effect, this time on the trees layer.  I have my glow at the lowest setting possible and it still seems like it is a little too much.  I did follow the tutorial though.