First we created some geometry.

Then we added some materials.
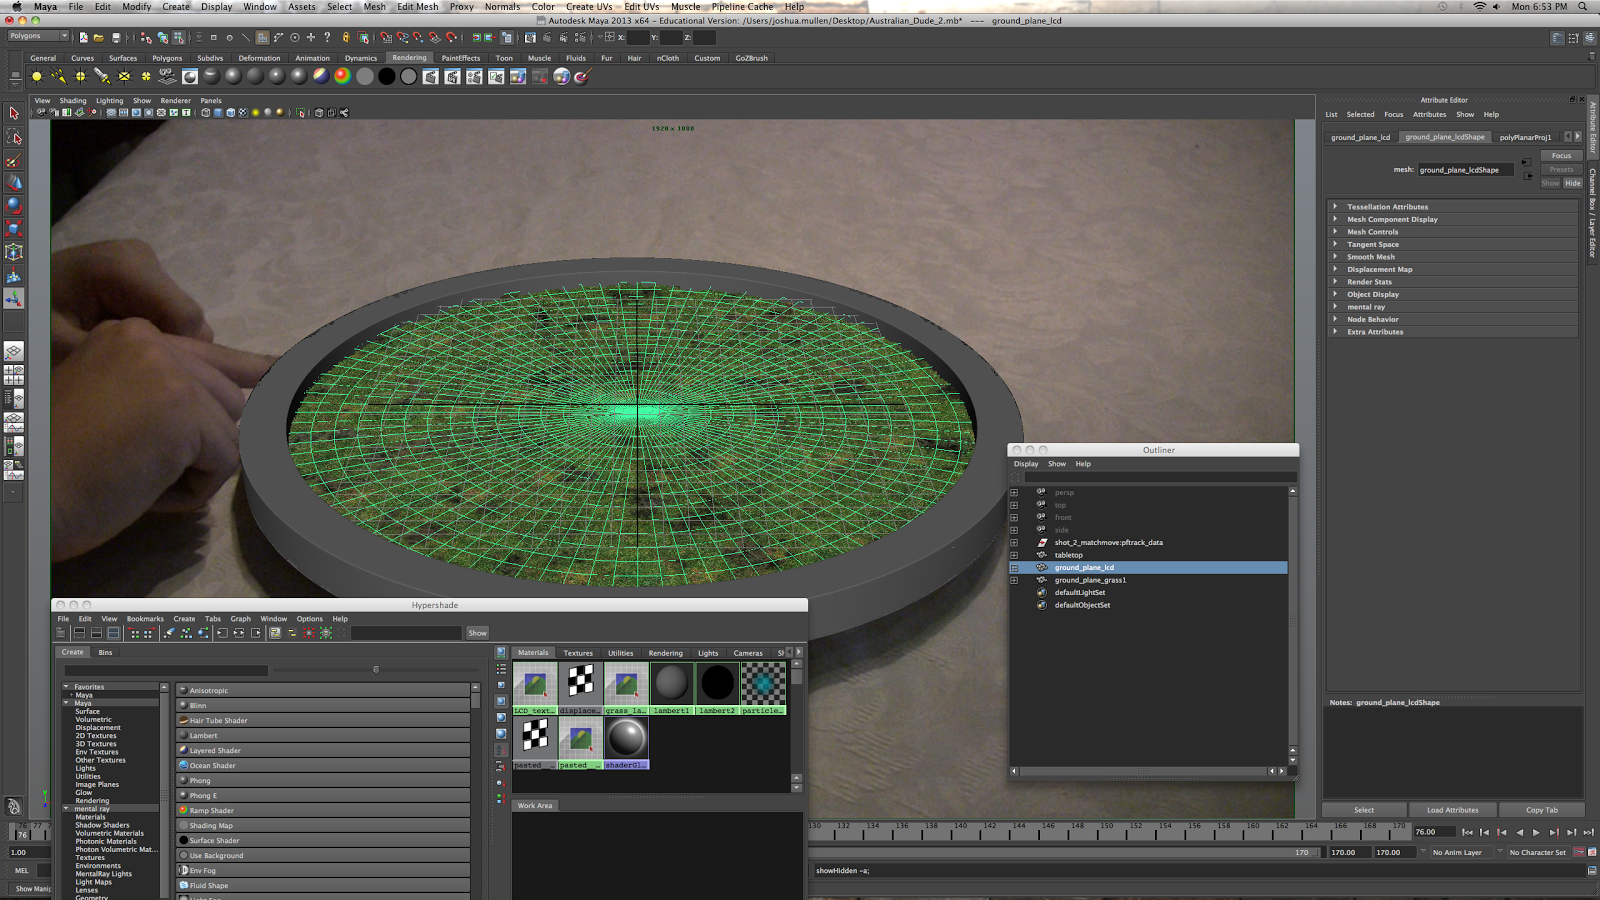
We added some more materials.

Then we started working on renderable layers.

The we started working on image based lighting.

The next step required creating new UV's.


I animated the hand to follow the footage.
Then I created additional holdout mattes (watch out in this video, he duplicates the "tree matte transparent" layer, but then he accidentally selects the "tree matte trunk" layer instead and starts changing it's attributes. Then in the next video he has his tree matte trunk layer back and doesn't have the "tree matte transparent 1" duplicate anymore. It is hard to catch though because he says in the audio that he is changing the "tree matte transparent 1" layer. It is pretty annoying that he never tells you about his mistake.).

In the next video he duplicates the "tree matte transparent" layer again even though in the last video he had already created it. He also changes the names of his layers without showing you which was which and creates a layer before you start the lesson (shadow_bowl). Anyways, I tried to follow along the best I could and created the final gather layers.

The next lesson started messing up a lot of things. I had about 15-18 layers and he only had 10 layers with mostly different names. I started copying the render settings that he had and then by the time that I got to the scanline layer there was a weird transparency on parts of my tree.

After that I tried to continue and copy the instructors other render settings and then I lost the trees and bushes in all my layers! I have no idea what happened, but I am going to go back to one of my previous files.


I keep working on the tutorial, but things keep getting worse and worse. A week-2weeks ago I was having trouble with the batch rendering of the layers (Lesson 13). I found that in the the few lessons leading up to lesson 13 the instructor changed the names of many of his layers and made other changes without telling us or telling us which steps to take to name them (and possibly change some attributes).
I have been having trouble batch rendering the lcd and grass layers as well. It shows their texture in the Maya screen but when I render the layers they are gone and just a black disc renders. I have retried to reload the image file multiple times with no success. (I found out later that this would be fixed if I went back to the layers and turned on "final gathering" and "raytracing" ; I found this out from my teacher, not the tutorial instructor).
I was finally able about a week ago to batch render all of my render layers. I then continued on in the tutorial and he showed his rendered layers. Almost all of them look different than mine. I know that I spent lots of time copying his exact instructions and so I don't know why they look so different.
When we batch rendered the files, he also didn't tell us to take the camera image off. I later found out, to my horror, that all my layers have been rendered with the Hologram (76.tiff) in the background.
I tried to get rid of the Hologram tiff and then it deleted my camera view so that I couldn't render the correct perspective for my layers. I undo-ed the deletion and tried to hide the background, but it wouldn't disappear (even though in the outliner it showed a the hidden grayed out box). It took awhile, but I finally found out how to get rid of the image.
I then tried to check on my layers to make sure that the textures were correct, before batch rendering again, and now a fourth to half of my layers render a pure black screen.
I will wait for my teacher's reply before continuing (I sent him an email). (He gave us all an extra week to finish the tutorial, hopefully we will be able to do it now).
Alright, I have finally been able to move on! A big thanks to my friend Quinn for letting me borrow his correctly rendered layers so that I could continue! When we had all the rendered layers we moved on to After Effects.
First we composited the turntable.
.png)
Next we composited the grass layers.Alright, I have finally been able to move on! A big thanks to my friend Quinn for letting me borrow his correctly rendered layers so that I could continue! When we had all the rendered layers we moved on to After Effects.
First we composited the turntable.
.png)
.png)
The tree layers came after that.
.png)
The compositing of the transparent hand mattes was a bit annoying. He said that he included in the downloadable files a "roto-ed" (masked out?) version of the hand so that it would fix a problem that he briefly mentioned. Suffice it to say, there was no downloadable roto-ed hand. He later continues in the same lesson to make another composition layer named "tree fx matte" which is almost the exact name as the "trees fx matte" which made it a bit confusing. It was so confusing in fact that the instructor even confused himself and didn't use the layer he spent time creating. He spent the next 2 minutes pondering why things didn't seem right and then messed up the previous layer that he created and changed its attributes again. I did not make the changes he did for this very reason. Here is what mine looks like at the moment.
We moved on to cleaning the holdout matte. There were some strange gaps in the hand that looked awkward and so he went into photoshop and fixed them (it seems, he didn't show how he fixed them) he tried to show an alternate method in After Effects, but I am not sure how to do it, so I am skipping that part. It would have been nice if he had provided those edited files for us to use.
.png)
The next tutorial went over compositing the final gather lighting into our footage. I will just say that he change many many settings at a fast rate and I'm not quite sure what he did. He did make everything glow a lot though haha.
.png)
The next lesson was hard to get through. He just cannot seem to make up his mind on what he wants his lights/glows to look like. He adds a tint adjusts it and then later deletes it. It cracks me up that he says, "You may want to watch me in fast forward", I thought he was in fast forward the whole time? A couple more layers just appear (duplicated when he wasn't documenting his process), placing them in various orders in his timeline, without telling you.
I tried to follow along the very best I could. Here is what mine looks like right now.
.png)
In the following tutorial he integrated the lcd with the grass layer. He also deleted the small glow layer and used another glow effect, this time on the trees layer. I have my glow at the lowest setting possible and it still seems like it is a little too much. I did follow the tutorial though.
.png)
No comments:
Post a Comment